


Gaia & Dubos partnered with artist Kate Ward from Zen Stitching to create a new tutorial just for you, in which you’ll learn how to mend your jeans using sashiko stitching !
Sashiko, when translated means “little stabs”, which refers to the action the needle makes whilst mending your jeans.
This tutorial can be used to repair any textile item with a tear in it. Quite different to Western embroidery, sashiko uses a longer needle to load multiple stitches onto it before sewing through.
You can refer to Kate’s video so you can see everything in details.
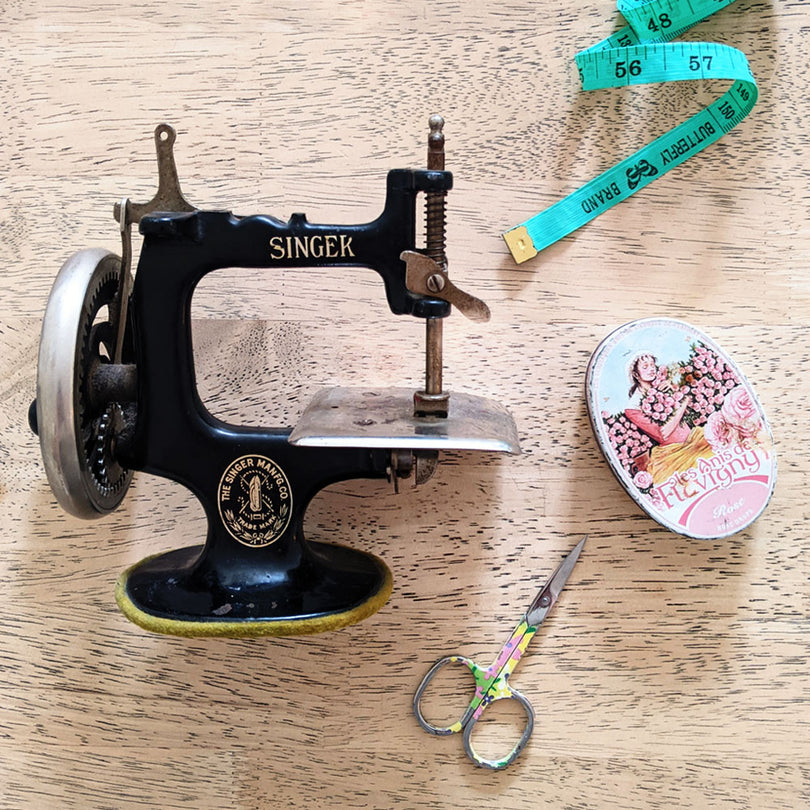
Materials
- Needle
- Thread
- Scissors
- Patch of fabric the same weight as the material you are mending
- Safety pins
- Sliver of soap, fabric marker or tailor’s chalk
- Ruler
Getting started
For the best results I would recommend working with a specific sashiko needle and thread (they are designed specifically for mending textiles) but, if you don’t have these you can use a regular needle and thread.
Ensure the fabric patch is larger than the area of the hole. The fabric will be well worn in this area and likely to continue to fray. A larger patch will prevent more patching in the near future. Fold over edges of patch and iron.

Place the fabric patch over the hole and pin in place using safety pins. I like safety pins because they will not fall out, or inadvertently stab you whilst you are mending.

Using a ruler and a sliver of soap or fabric marker, measure out a 1/2 inch grid over the area you wish to stitch (in my case the entire area of the patch). Using imperial measurements allows for a little extra space between stitches, compared with metric.


Using the grid as a guide, stitch 1/2 inch stitches along the vertical length of the patch, leaving a small space where the grid lines meet. You may wish to stop at this step, as this has patched the hole and strengthened the jeans in this entire area. Remove safety pins.

Continuing to use the grid as a guide, stitch ½ inch stitches along the horizontal access of the patch, leaving a small space where the grid lines meet.
Your stitches will now form a grid-like pattern. And you now have a very beautifully mended pair of jeans! Saved some money and possibly found peace of mind as you stitch.

QUICK LINKS
Discover Kate Ward, the artist and educator behind Zen Stitching, a platform where she shares her love of mending through online tutorials.